A few important tips:
- Pick up water with your brush before getting paint with it.
- Have a palette handy as you'll want to roll your brush on it to get it into a point; this will let you put pant where you want it a lot easier.
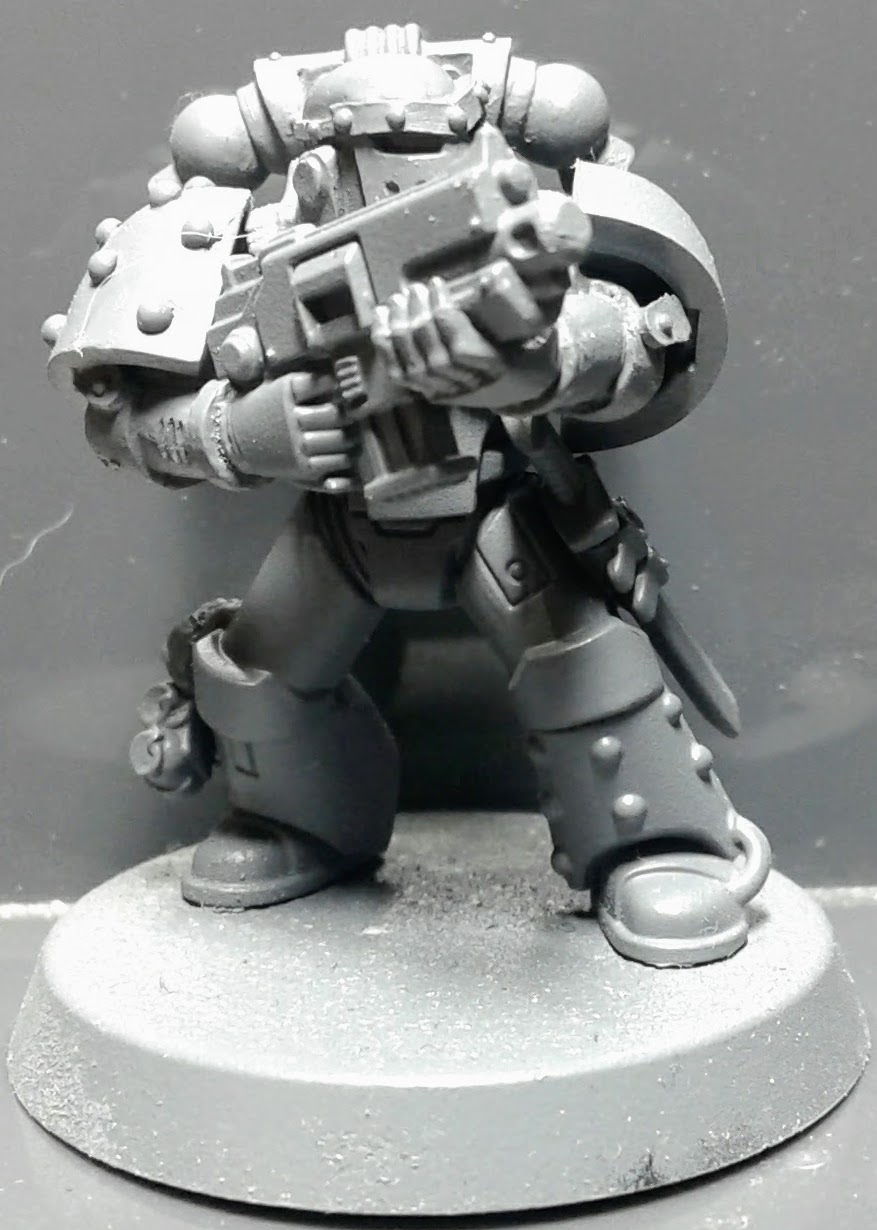 |
| Step 1: Primer with gray. This can be Mechanicus Standard Grey if you want, but I used a Rustoleum spray. |
 |
| Step 2: Paint the base with Squig Orange, then add a mixture of Martian Ironearth and Martian Ironcrust. Allow to cure fully. |
 |
| Step 3: Wash liberally with Vallejo's Dark Rust. If you're sticking with Citadel colors, use Reikland Fleshshade instead. Allow to dry. Drybrush with Fire Dragon Bright, Squig Orange,or Ryza Rust if you like. |
 | |
| Step 4: Paint the shoulder pads, weapon casings, knee pads, and helmet lenses with Abaddon Black. |
 | |
| Step 5: Paint the backpack exhausts, weapons, krak grenades, and blades with Leadbelcher. |
 |
| Step 6: Paint anything that's leather (like straps and weapon holsters) with Dryad Bark. |
 |
| Step 7: Paint the exposed cables and undersuit ribbing with Stormvermin Fur. It's not really obvious in this photo, but the chest cables show best for this step. There are two elements on both sides of the backpack that can't be seen that also get this color. They are rectangular boxes with short cylinders sticking out. |
 |
| Step 8: Paint any helmet faceplats with Administratum Grey. |
 |
| Step 9: Paint the grenade pins, buckles, and backpack top strip things (if they exist) with Runefang Steel. |
 |
| Step 10: Paint any frag grenades with Dark Reaper. Here's a close up of the area. |
 |
| Step 11: Wash the entire model carefully with Nuln Oil, making sure to clean up any pooling. Make sure any highly texture surfaces like the undersuit ribbing get a slightly extra coat of the wash. |
 |
| Step 12: Paint all the stud bits with Skullcrusher Brass. You'll have to be pretty careful since most of them are in areas that aren't easily touched up. |
 |
| Step 13: Very carefully paint all the rivets and bolts with Runefang Steel. This can take awhile, as I found out with Mk III armor. It's worth it for the bright contrast against the dark grey and blacks. |
 |
| Step 14: Dust the model with Secret Weapon Pigments' Rust Orange. I chose to aim for the legs and areas immediately around them. |
 |
| Step 15: Paint the rim of the base with Abaddon Black. Or your choice of color really. |
 |
| Step 16: Seal the model in with a matte sealer. I use the Testors brand personally. |
No comments:
Post a Comment